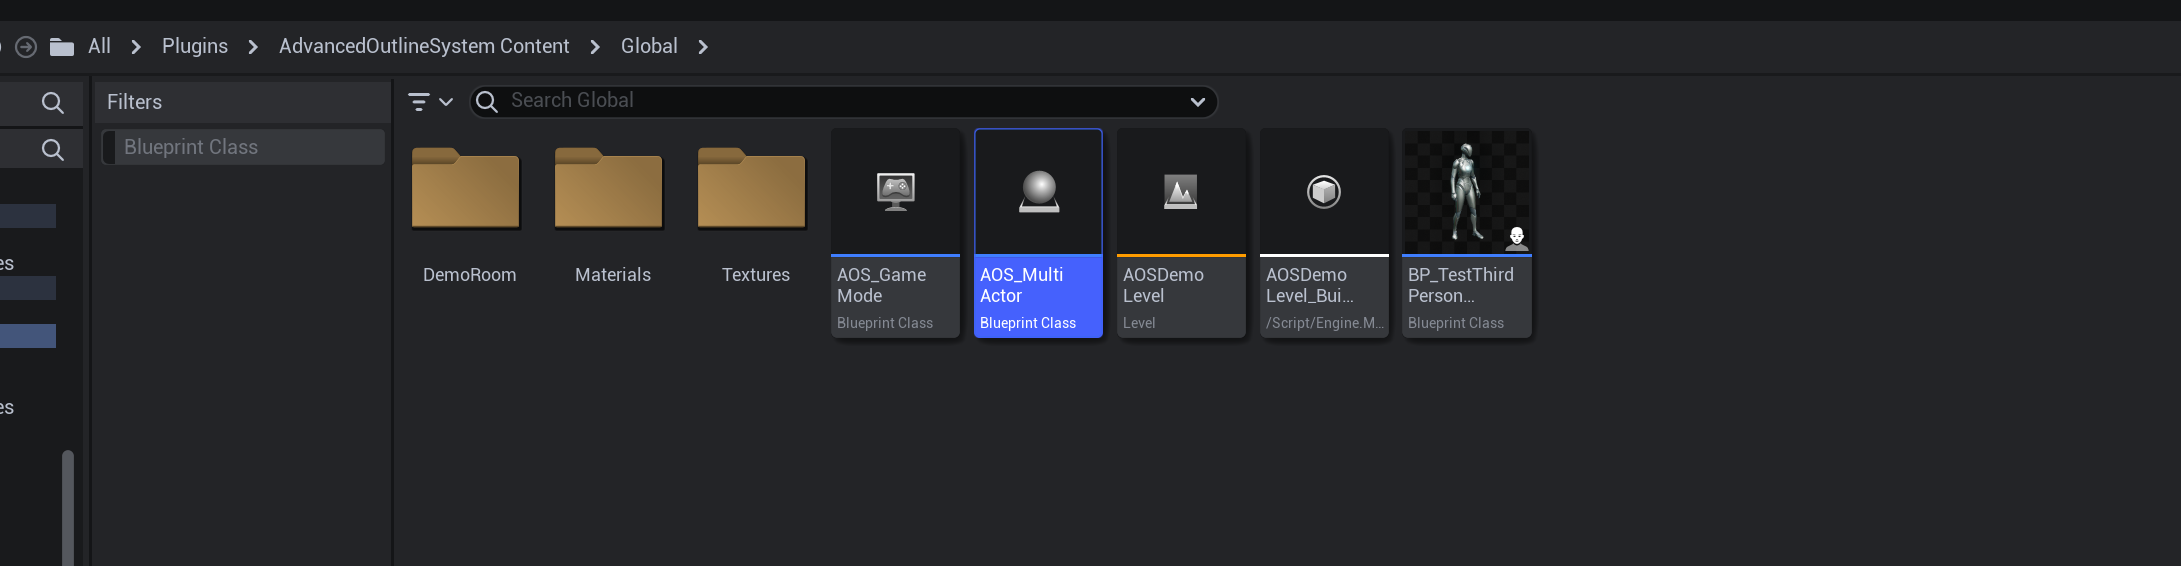
Demo Level Path
Demo Level Path
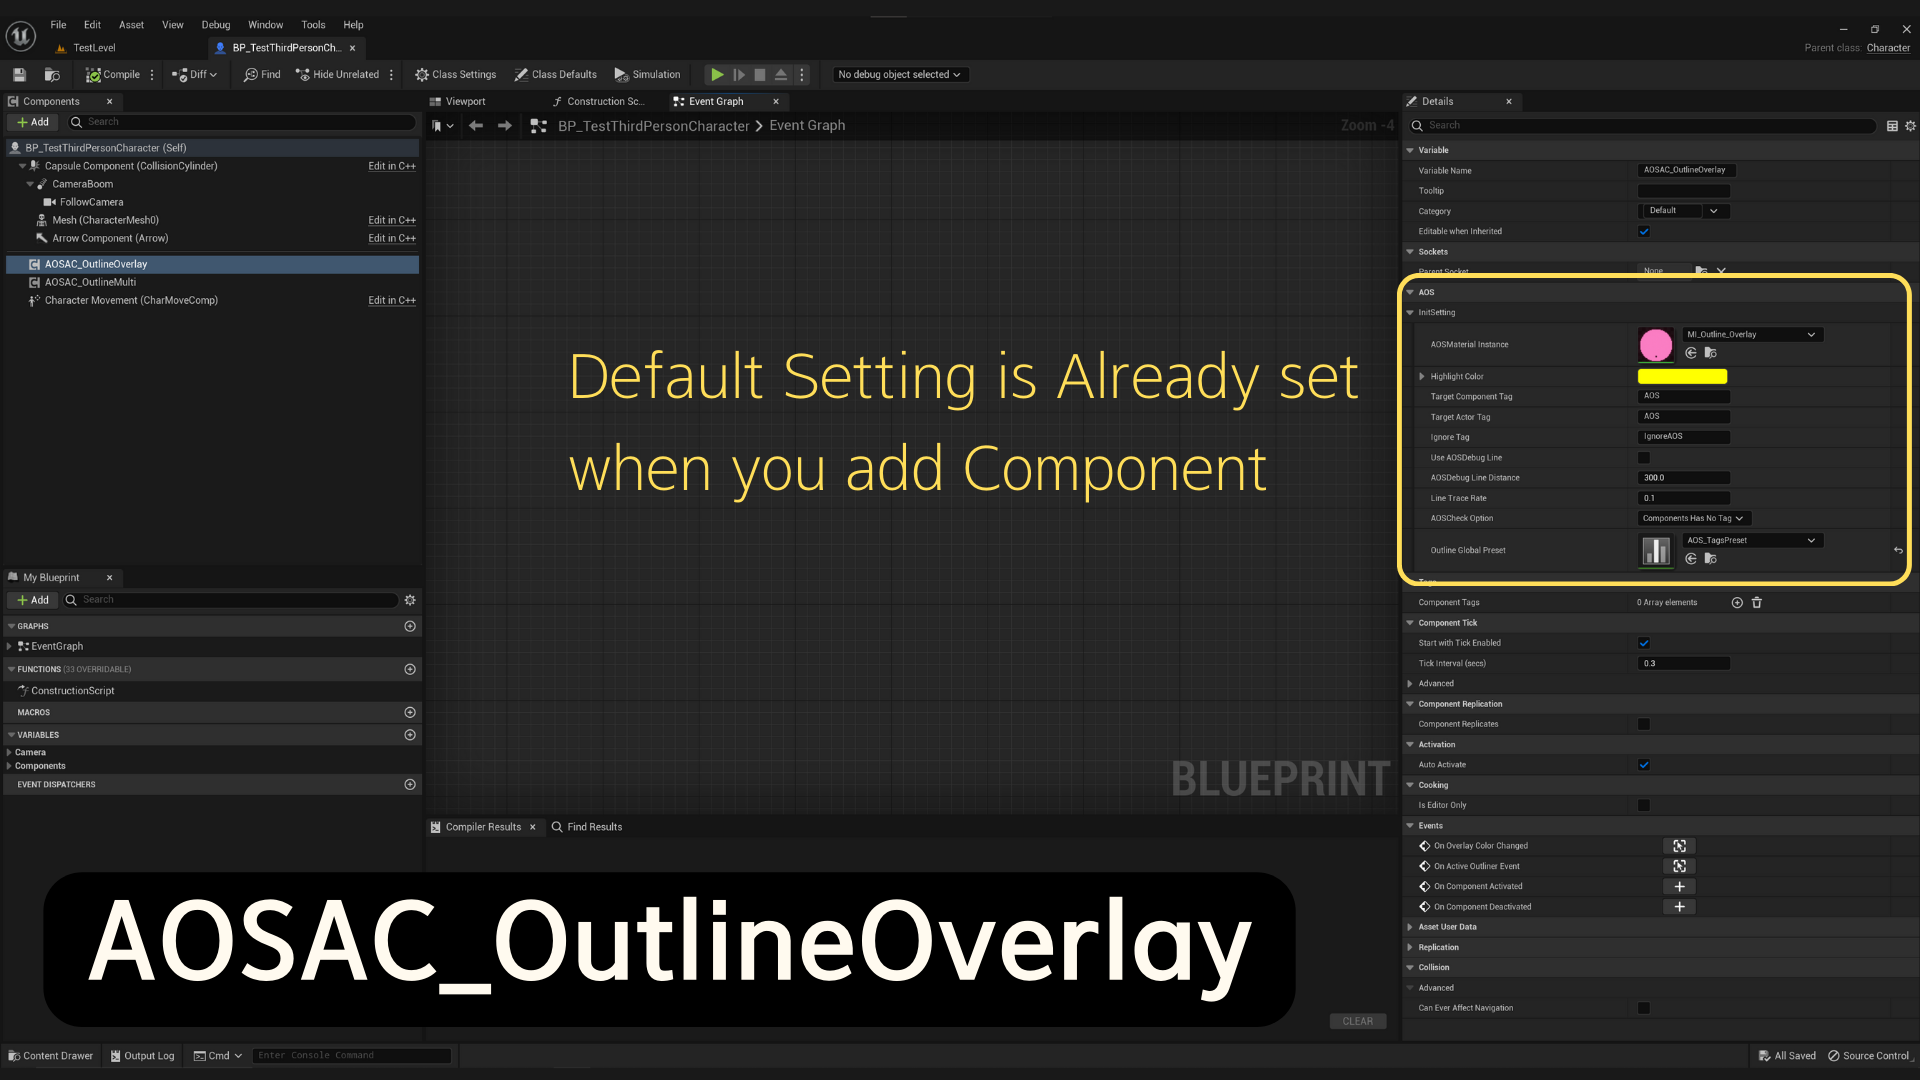
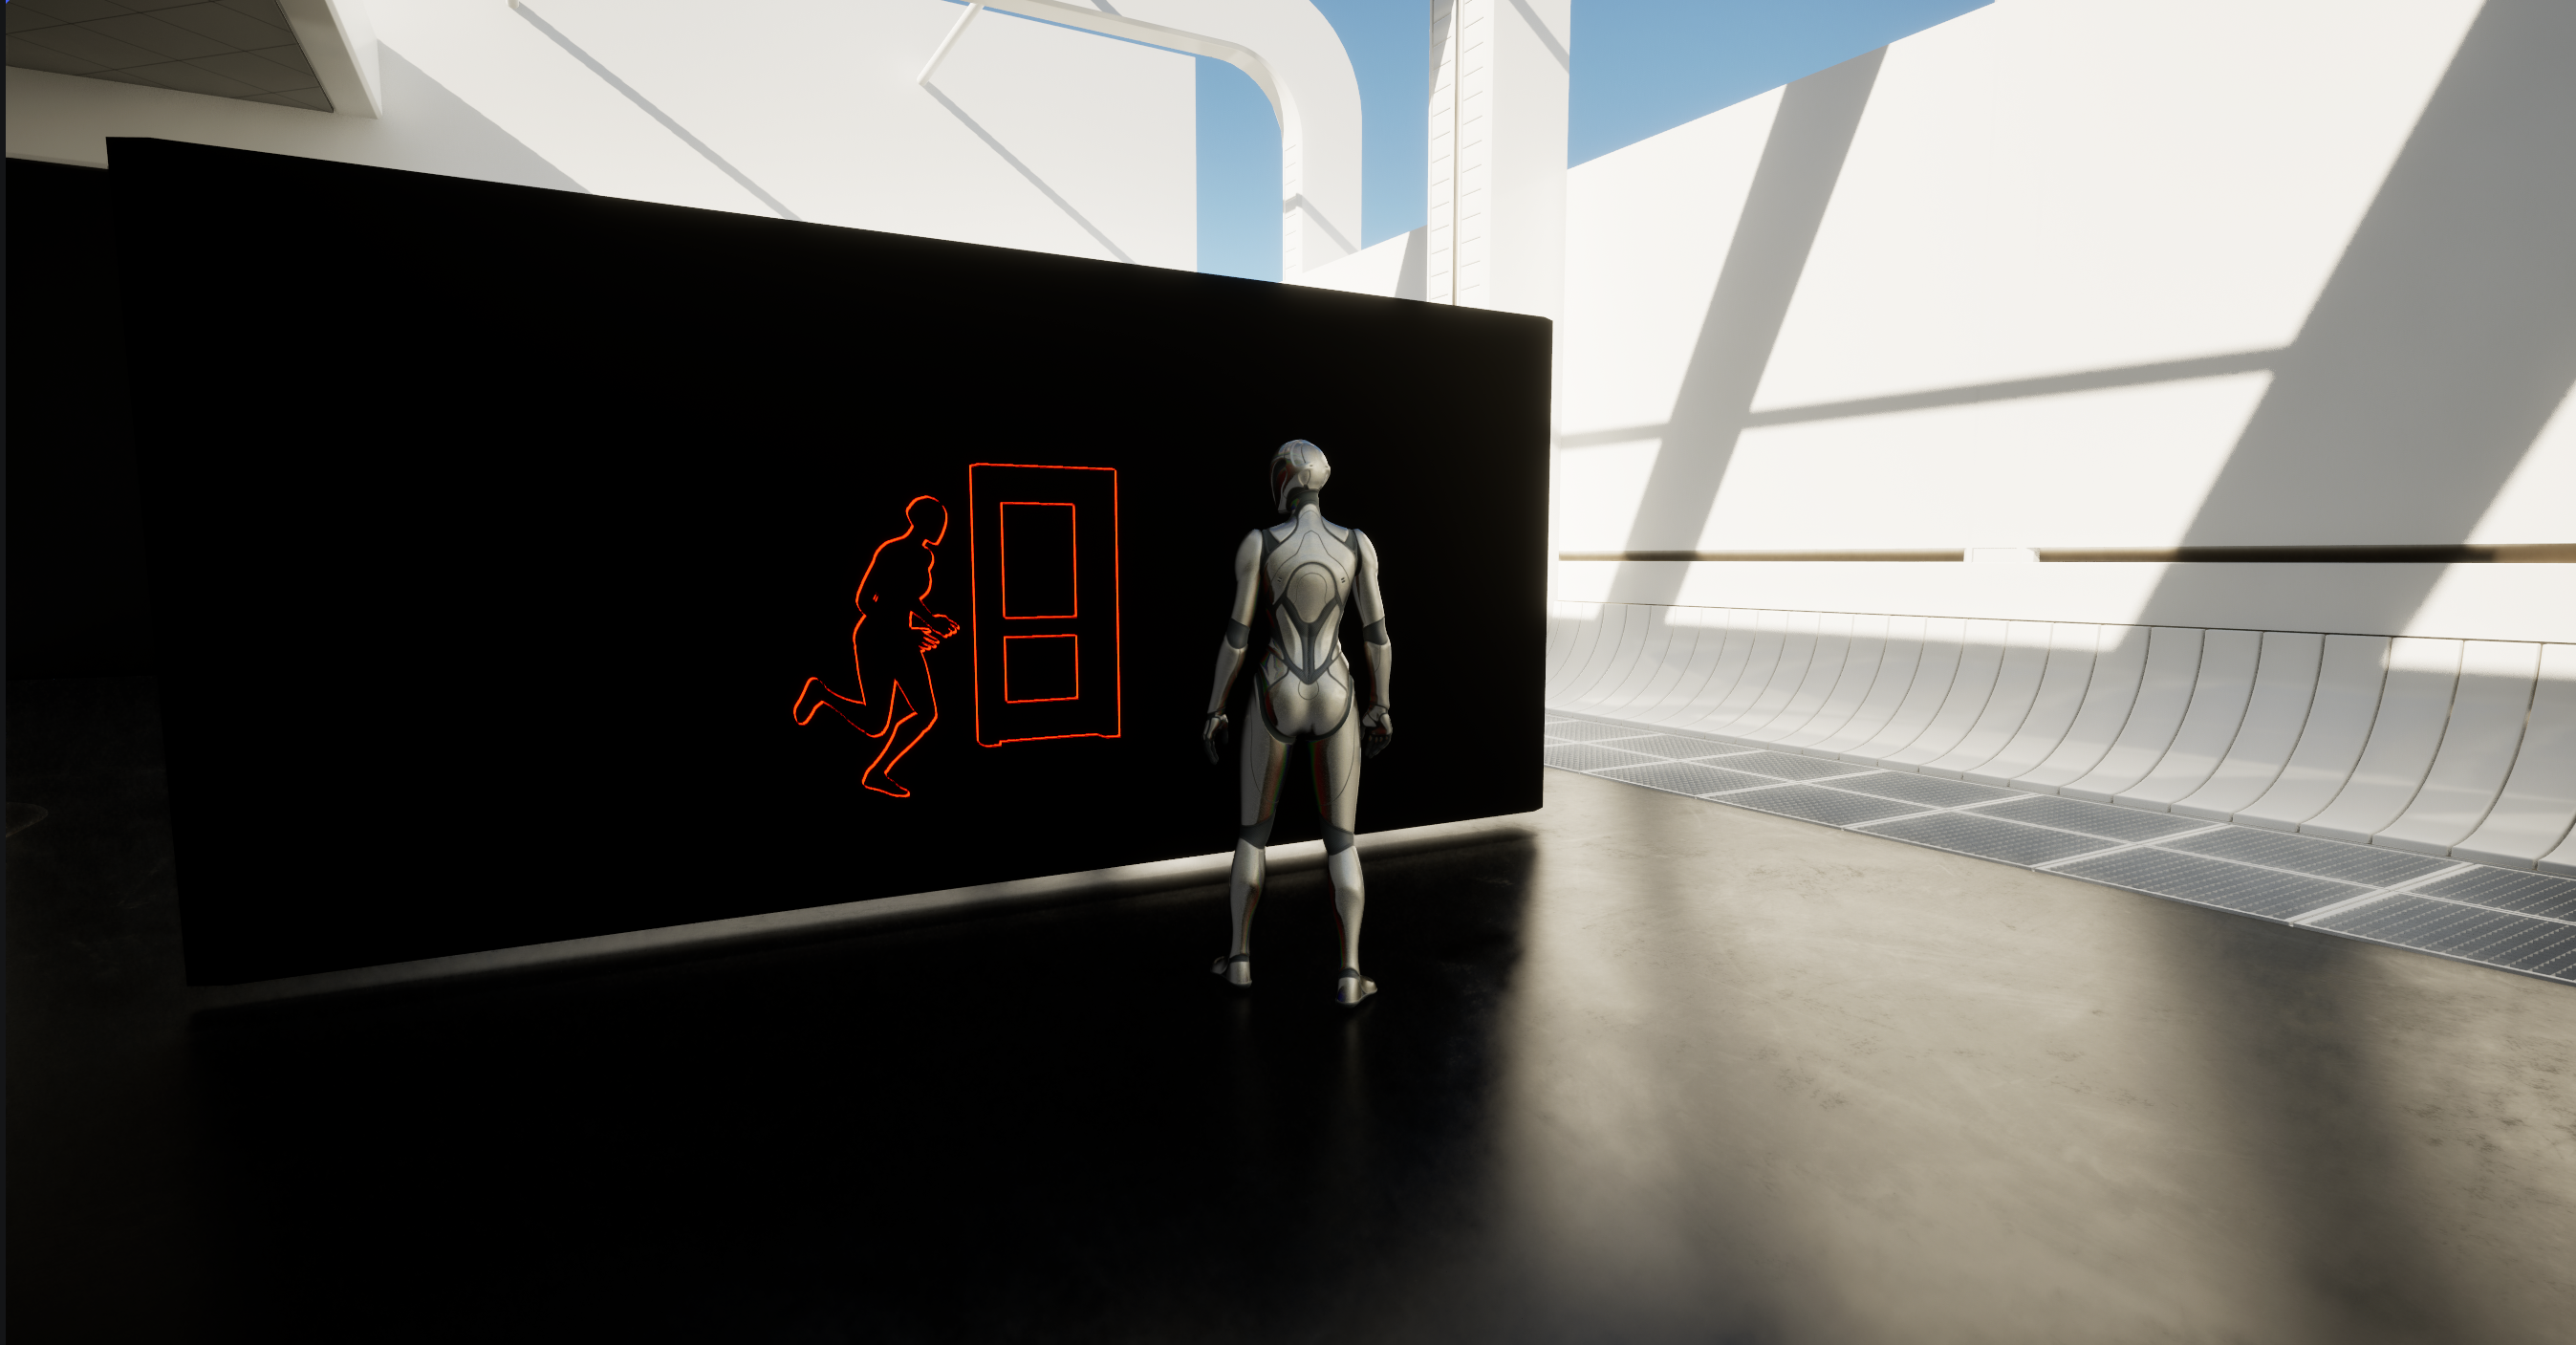
AOSAC_OutlineOverlay
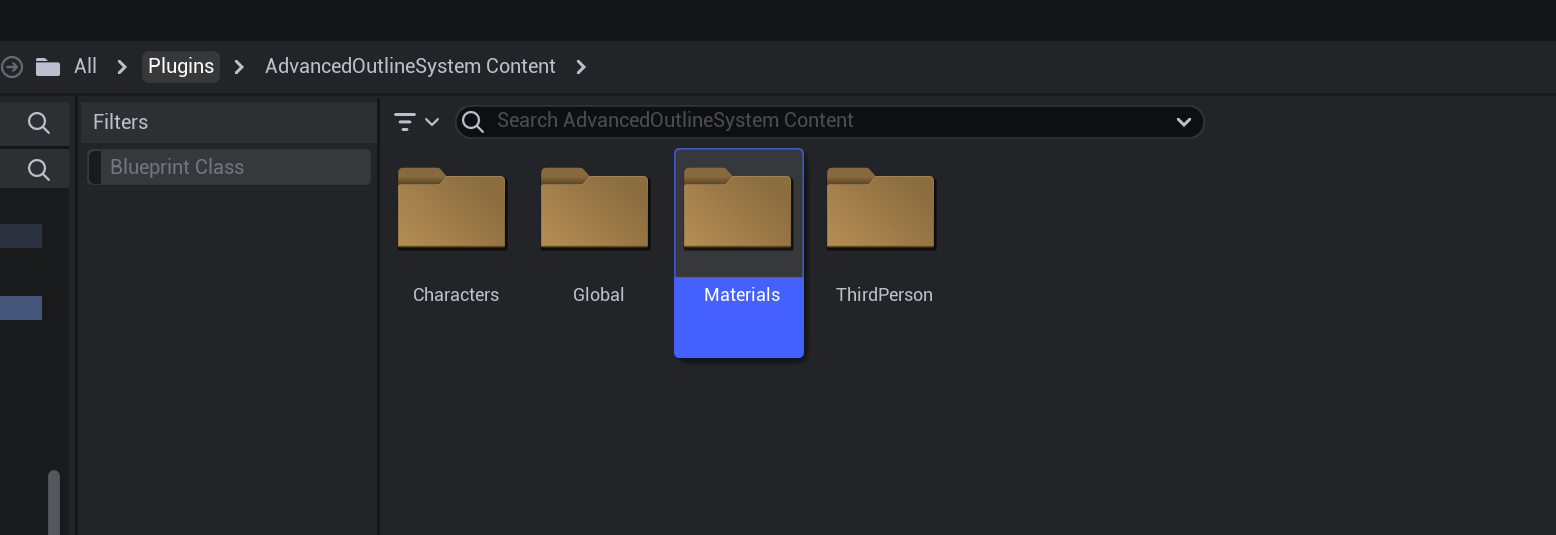
AOS Materials Path
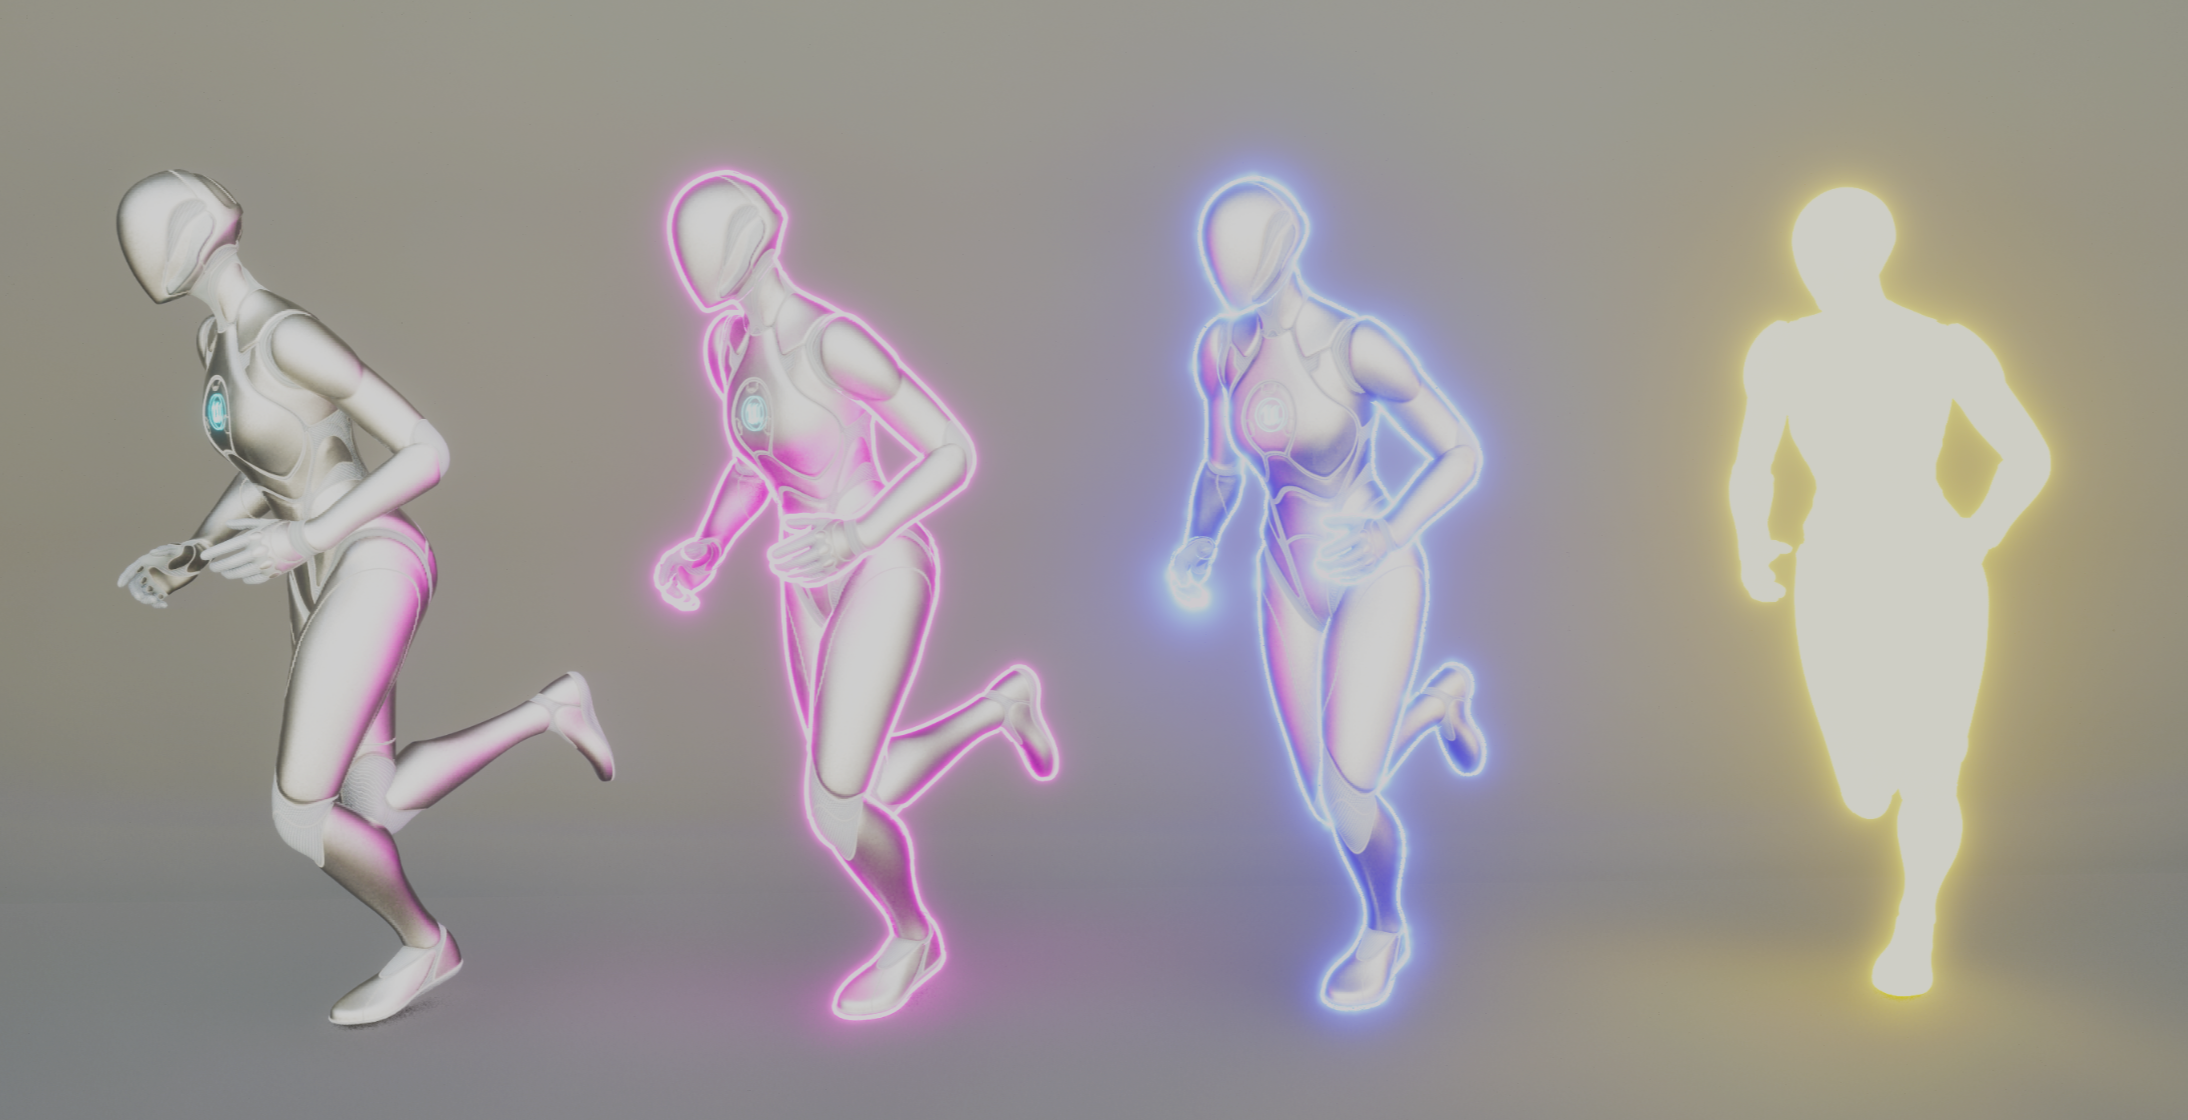
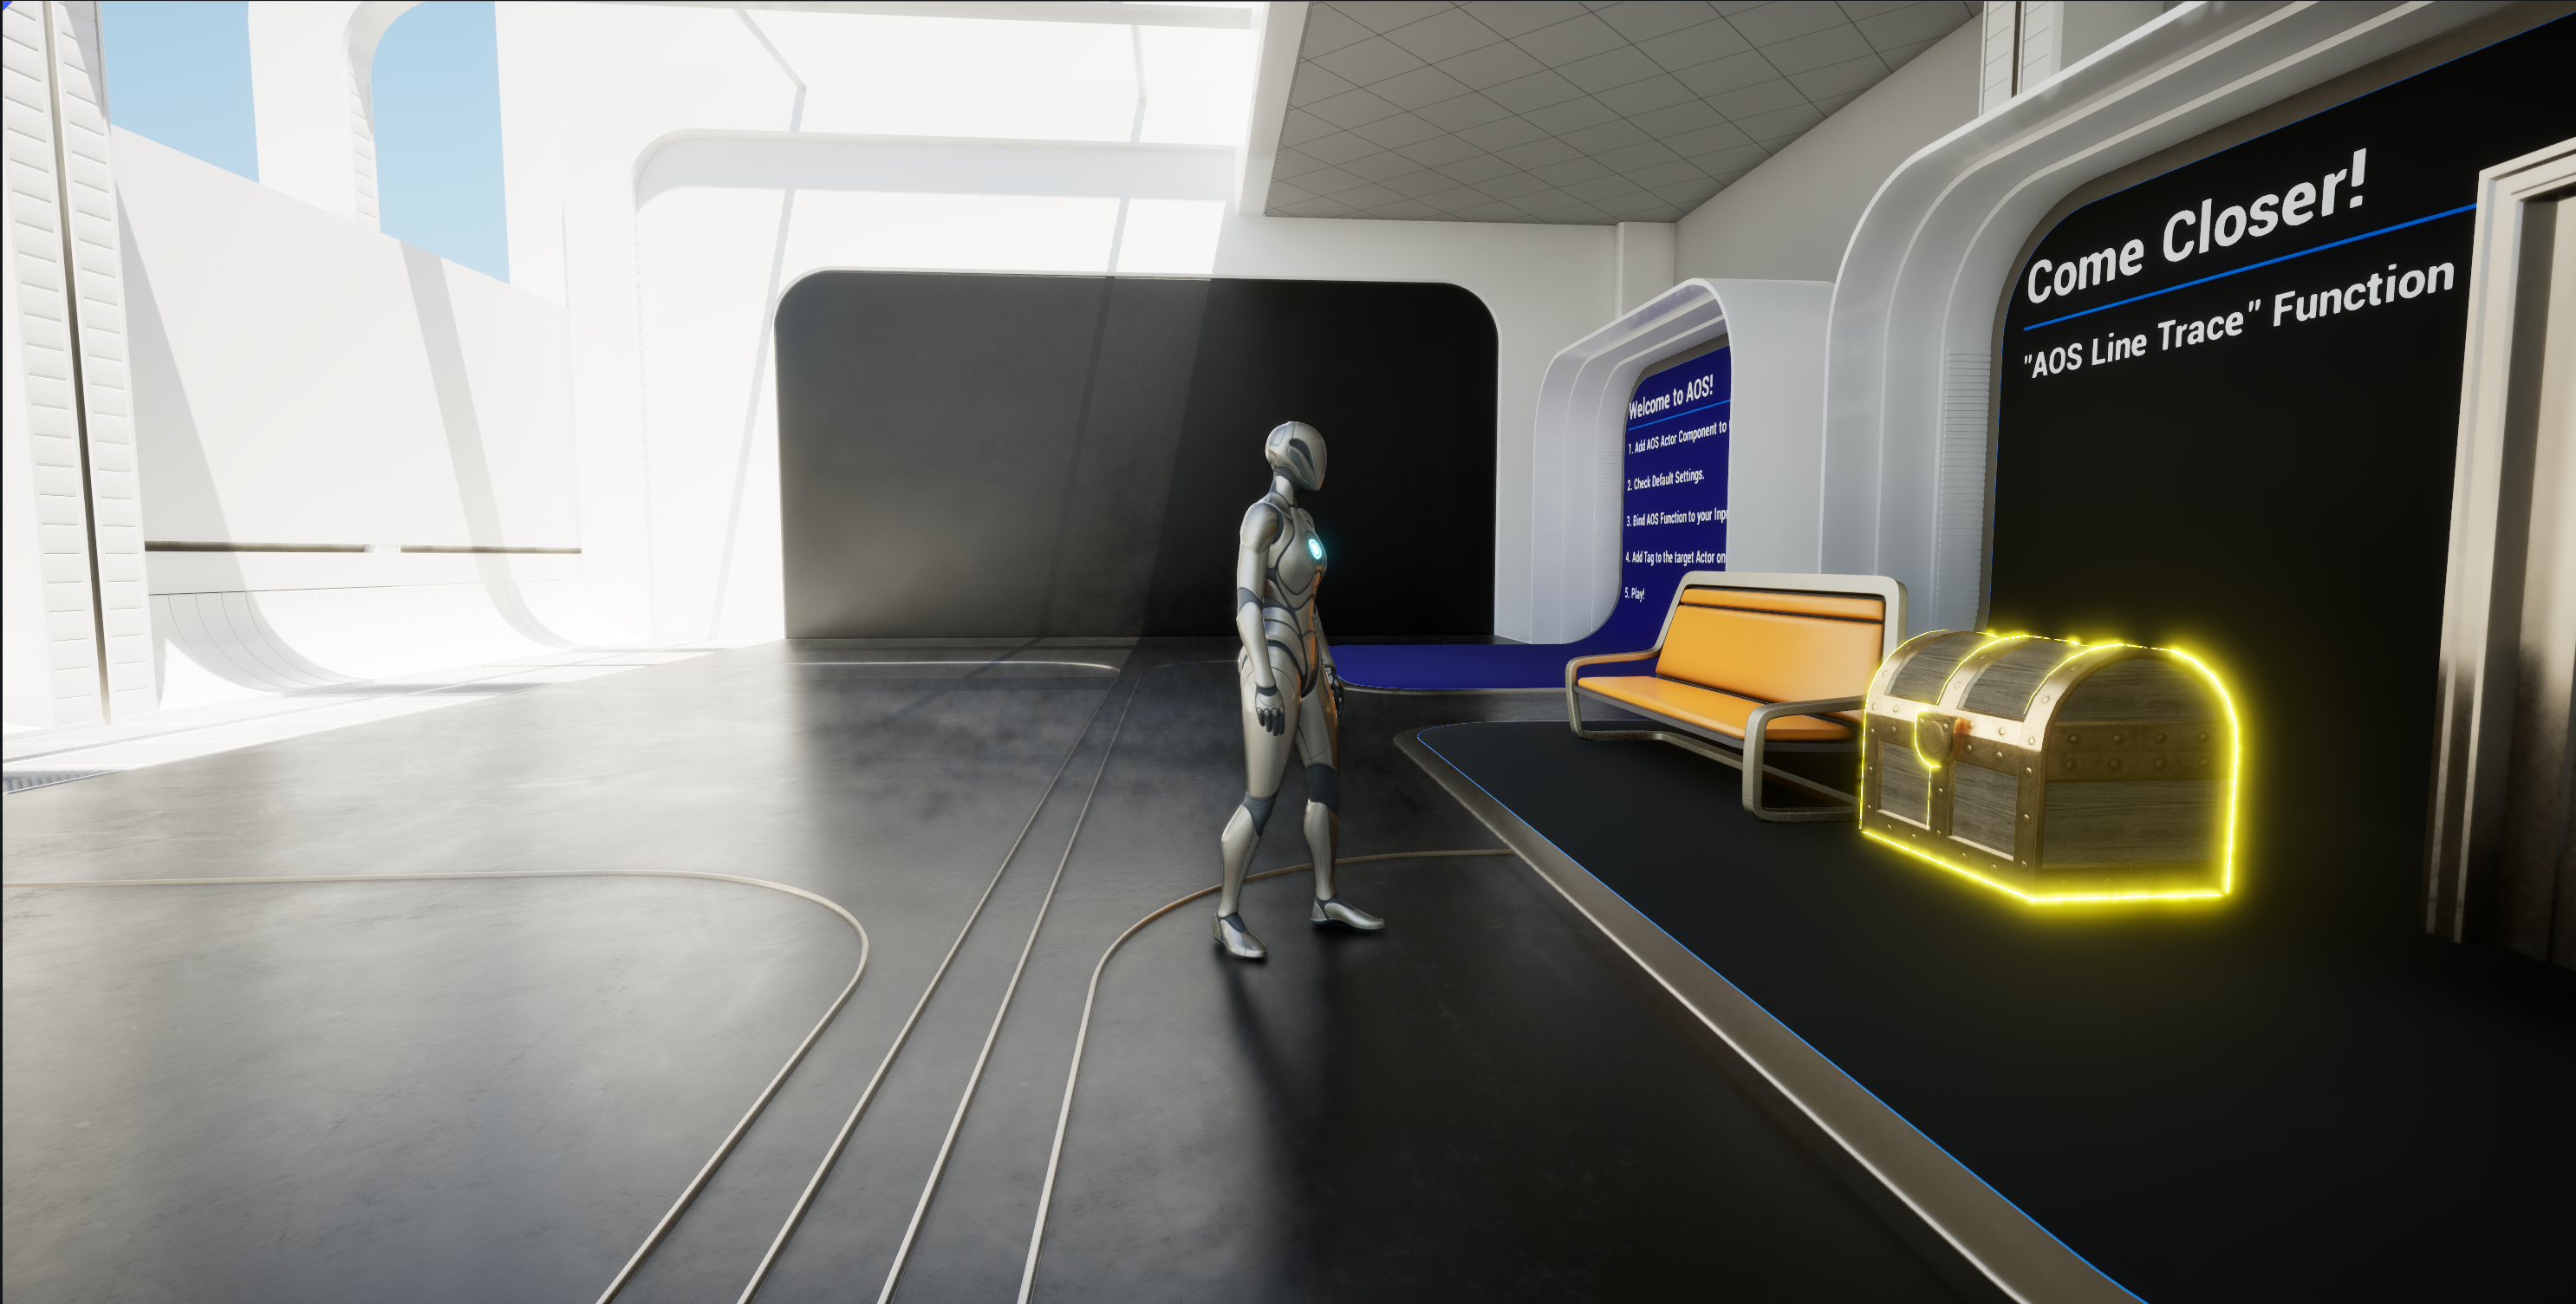
Example in Demo
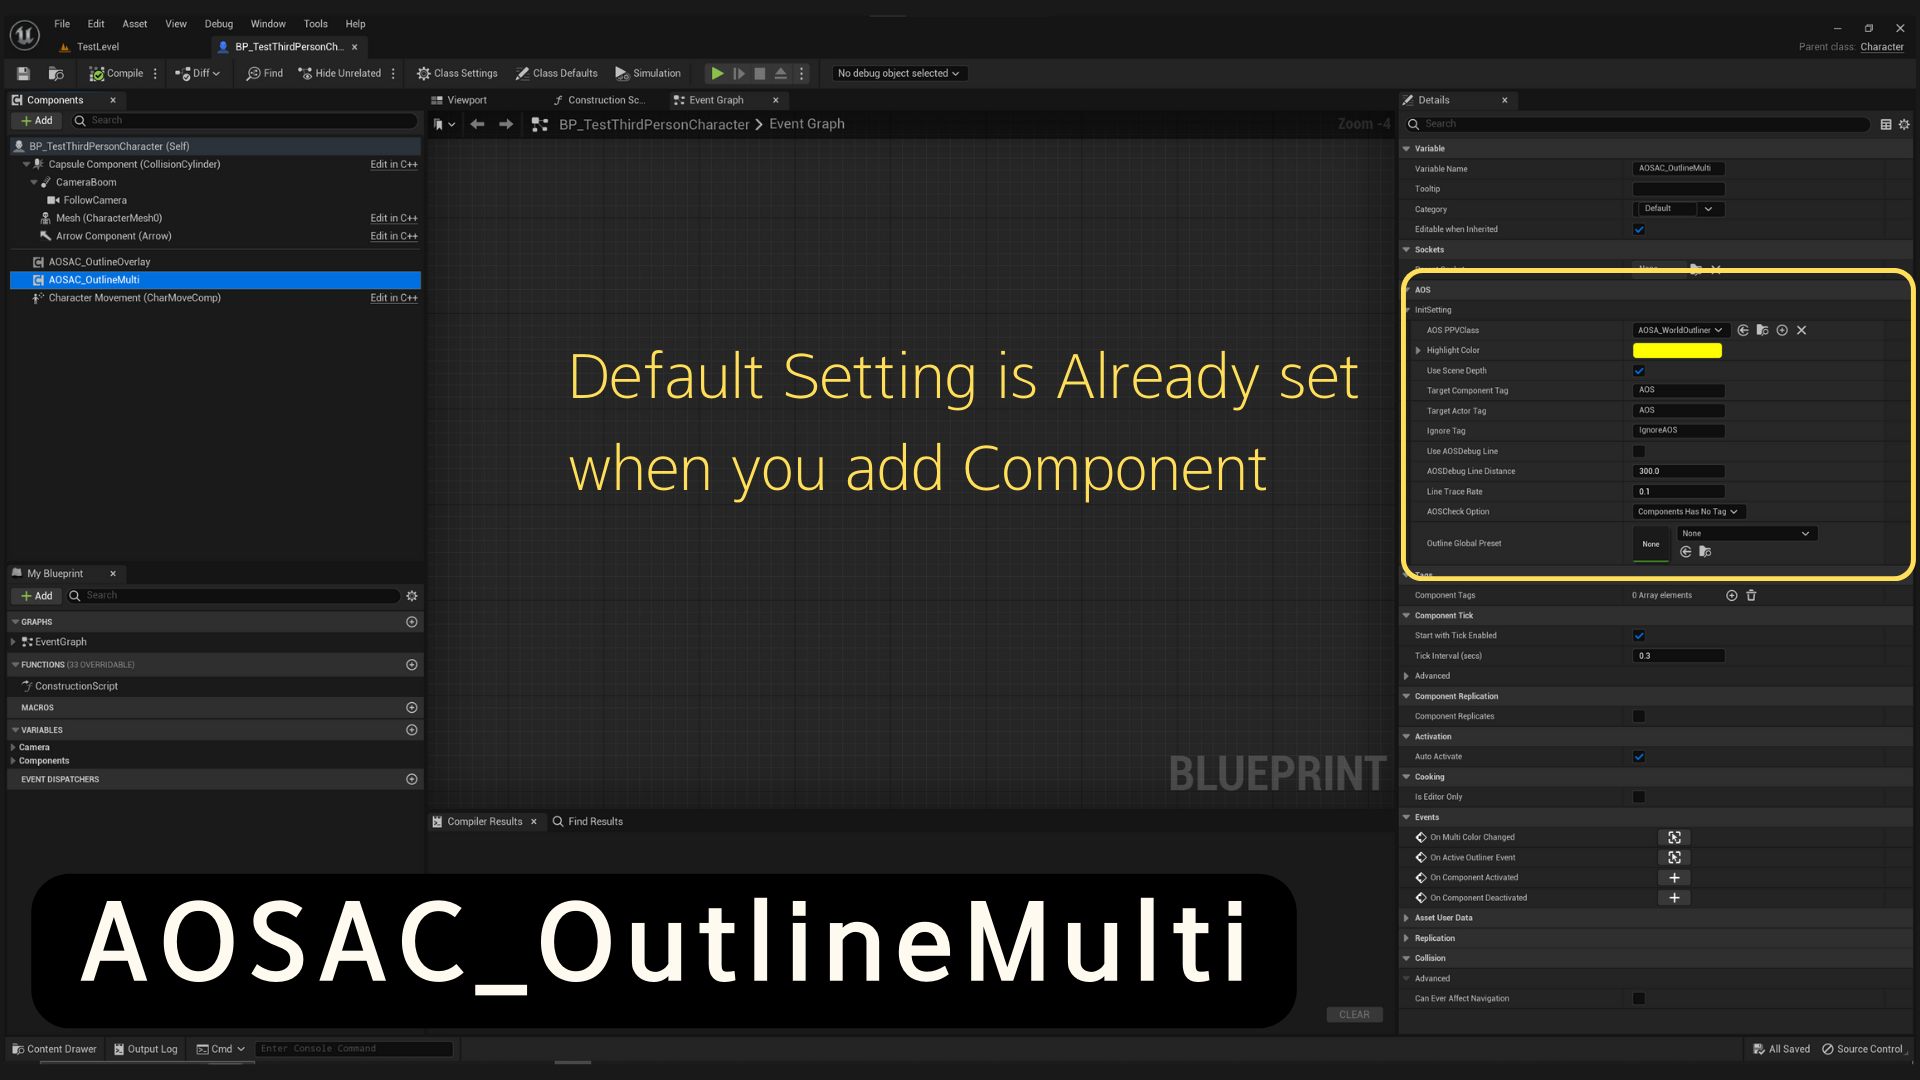
AOSAC_OutlineMulti
AOS_WorldOutliner
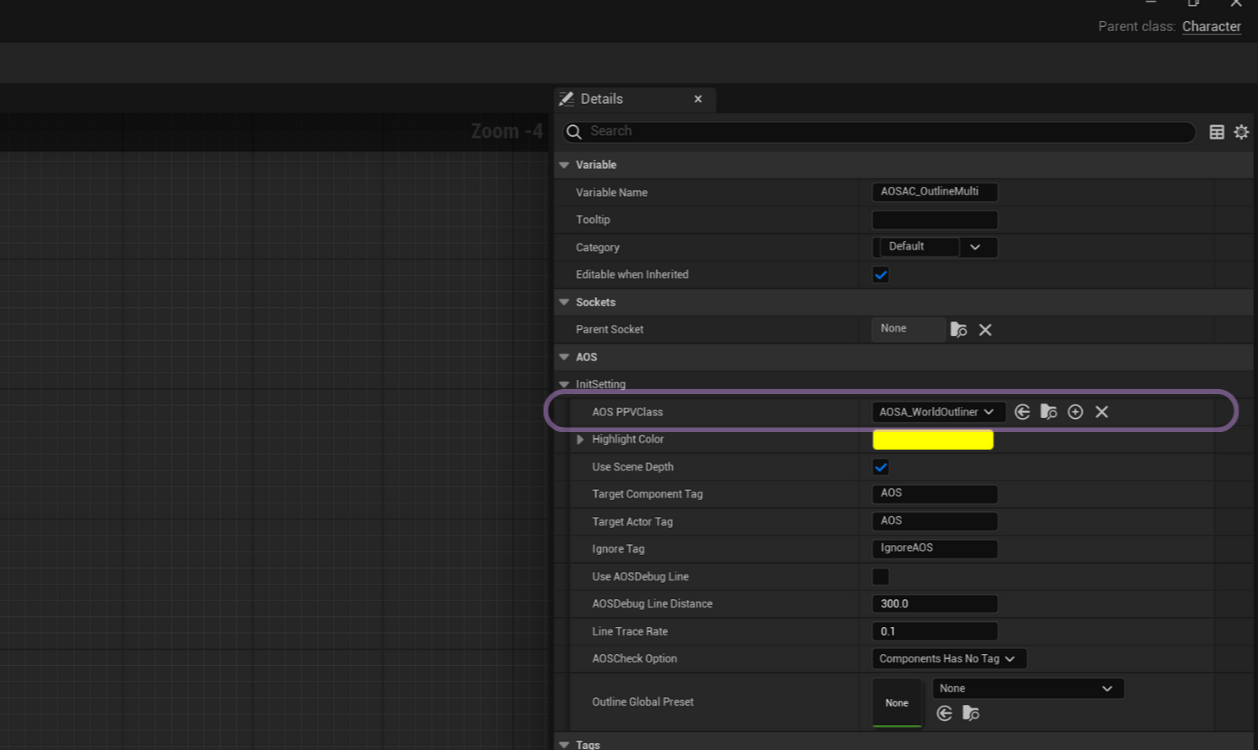
AOSAC_OutlineMulti : After Creating this BP actor, add this class to your actor component Init setting "AOS PPVClass"
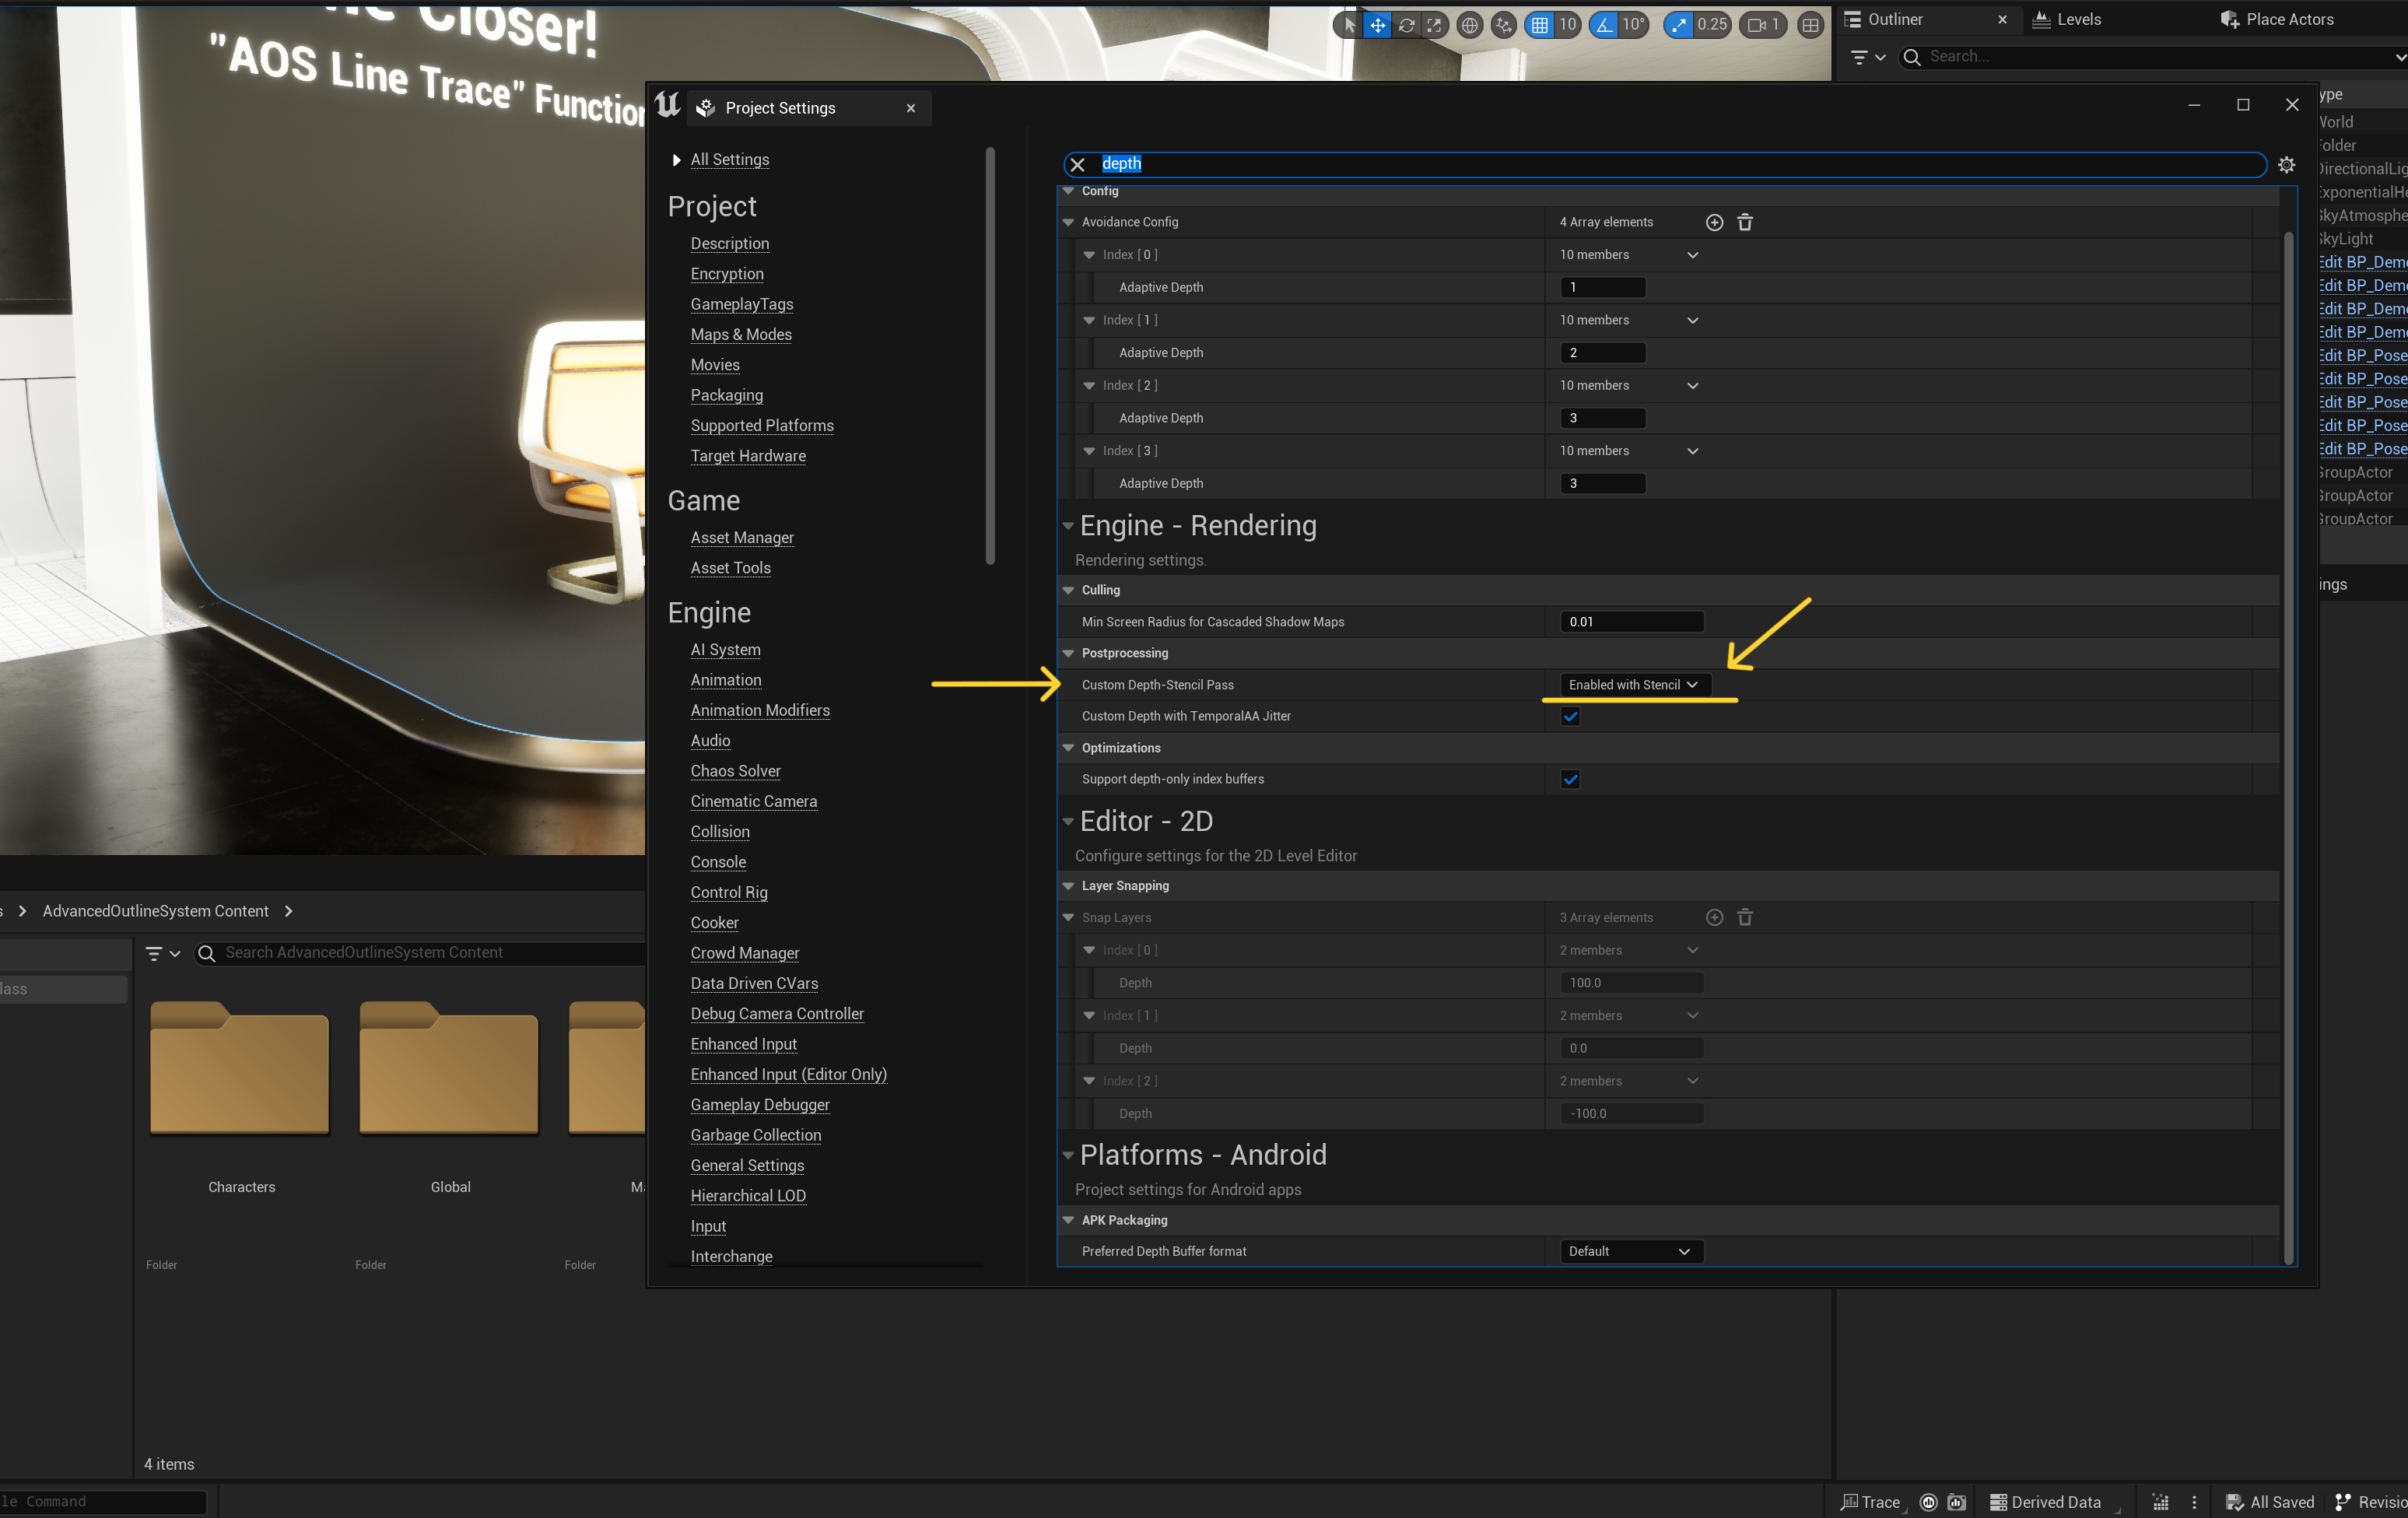
Project Settings
Example in Demo